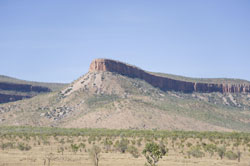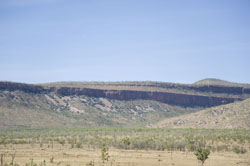
Panorama photography enables photographers to effectively take larger format images without the expense of larger format equipment.
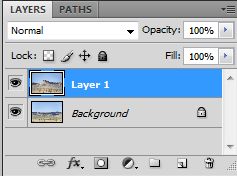
This tutorial covers the making of a panorama with Photoshop CS3 using layers. The two original images used to form the panorama are shown above. These two images are opened in Photoshop and the two images are merged together in layers to form one image. Both images were taken in Raw format and converted in Photoshop. Any vignetting of the images is corrected prior to combining the layers. The two images can be combined by copying and pasting one on to the other resulting in the following layers.

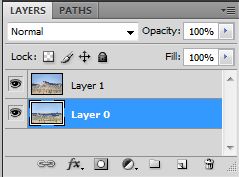
Double click on the locked background layer shown above and then select OK in the New Layer option. The Layers will then be shown as follows.

The layers are then manually but roughly aligned. Both layers are then selected and they are accurately aligned using Photoshop, Edit/Auto-Align Layers. Click OK to align the images.
Once the above has been completed select Image/Reveal All to to fit the image to the canvas area,
The next step is to blend the images using Edit/Blend Layers to make the image such that the joins in the layers can not be seen.
Next crop the image – Image/Crop, then Layer/Merge Layers to bring it back to a single layer and then touch the image up in Photoshop to your satisfaction. The resulting image is as follows.


