One of the mysteries of digital photography is the Unsharp Mask, why is it needed, how is it done and what does it do to the image. The idea behind unsharp masking is to exaggerate the light dark contrast between any edges in the image. Any light dark boundary becomes more distinct.
Sharpening is really all about restoring the image acutance or how accurately the the edges of objects are defined. During capture of the image and processing, blurring may have occurred due to the mechanism of how the image is captured within the camera and needs to be restored in post precessing.
Image sensors in digital cameras use an anti-aliasing filter which is also known as an optical lowpass filter, blur filter or AA filter. This filter can improver the image quality when fine detail occurs in the image but it also introduces a small amount of blurring of the image. The USM Unsharp Mask software can assist in overcoming this blurring of the image.
The USM Unsharp Mask software operates by creating a duplicate of the original image, blurring this image and comparing with the original image and comparing each pixel in both copies of the image to determine the edges of objects.
Unsharp Mask USM
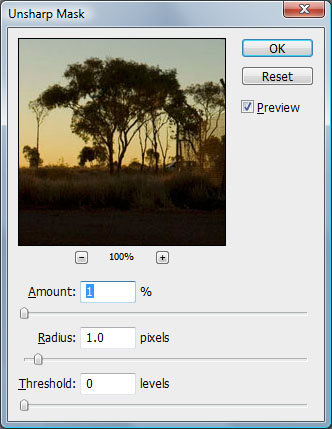
Generally Unsharp mask settings have three adjustments as follows:
- Amount – As the Amount slider is moved to the right with the USM settings the dark areas along the edges get darker and the light areas get lighter giving more contrast at the edges.
- Radius – The radius slide effectively specifies how large a region is darkened or lightened in the masking process.
- Threshold – The USM process uses a combined blurred and normal copy of the image and the threshold setting determines how big a difference between a pixel on the blurred or normal copy is needed, before the darkening or lightening process is applied.
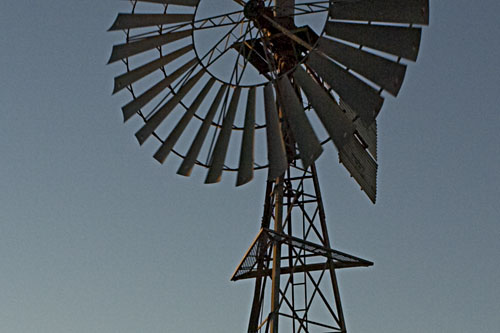
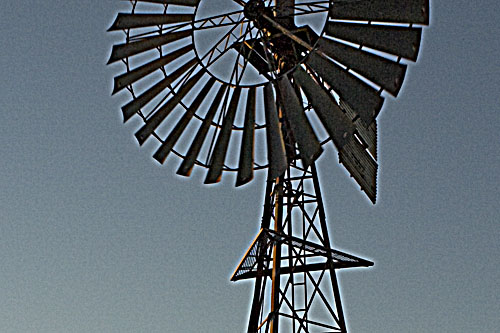
In the examples shown below the Photoshop Unsharp Mask function is used (Filter / Sharpen / Unsharp Mask) to modify and sharpen the image. This function has three sliders as shown and the exampes below show an image before sharpening after sharpening and an over sharpened image to demonstrate the sharpening process.


Original image before sharpening
An oversharpened image to illustrate the
effect of excessive sharpening
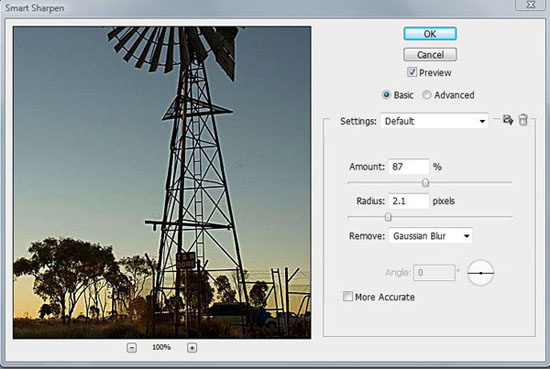
Smart Sharpen
Smart Sharpen is another alternative in Photoshop (Filter/Sharpen/Smart Sharpen). This makes use of two sliders, a Radius and an Amount to control the degree of sharpening. Be sure to view the image at 100% when using the sharpening settings with the USM solfware. Smart sharpen also provides an advanced setting to shade the sharpening effect in certain areas of the image which can help reduce the noise in those areas.


