Nikon ViewNX 2 is a useful free software from Nikon to enable managing, sorting and basic editing of your image files, both for still images and also for Videos. The following is a basic outline of how the software can be used to edit your movies.
- Open Nikon View NX 2.
- In the top menu bar of View NX 2 select Movie Editor.
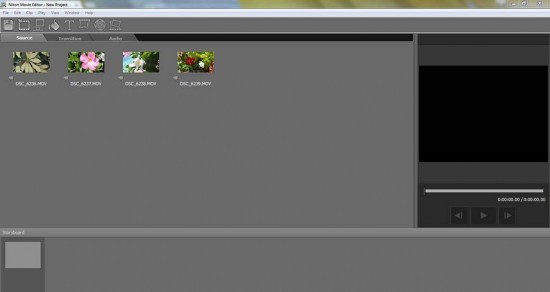
- Load All the source video files, and the screen should look as follows.

- Next move all the video clips down to the Storyboard.
- Select the Transition Tabs required between each video clip,
- Move each transition between the respective video clip.
- The video clips and transitions will appear in the Storyboard as follows.

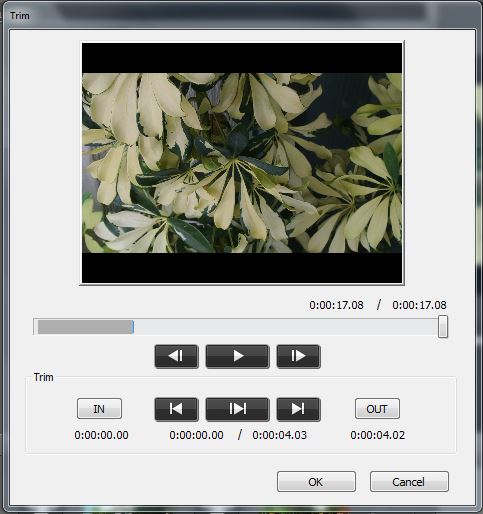
- Double clicking on each video clip in the Storyboard will open up a dialogue box as shown below.

- The parts of each video clip that you want included in the final video is selected by clicking the play/in/out buttons and then select OK.
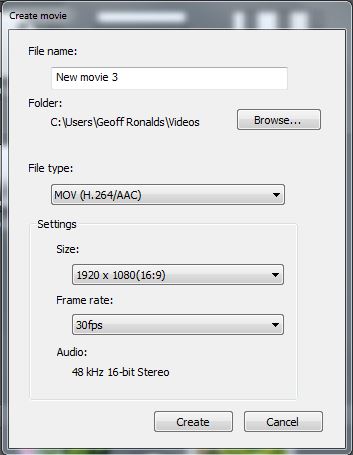
- Select Create movie from the top bar and then select the Folder destination/ File Type/Size/Frame rate then select Create to create the final movie as follows.
The final edited movie is now available in the destination folder.

