This is an article of seven parts on Photoshop CS4, Adobe Camera Raw.
Adjustment Brush, Graduated Filter, Preferences The Histogram, Basic Adjustments
Curves, Sharpening, Noise Reduction Grayscale, Black And White, Split Toning
Lens Corrections, Camera Calibration Examples Of Usage
Adobe Camera Raw is one of the most popular raw converters. It is most desirable to capture your images in the raw format if you are aiming for thehighest quality images.
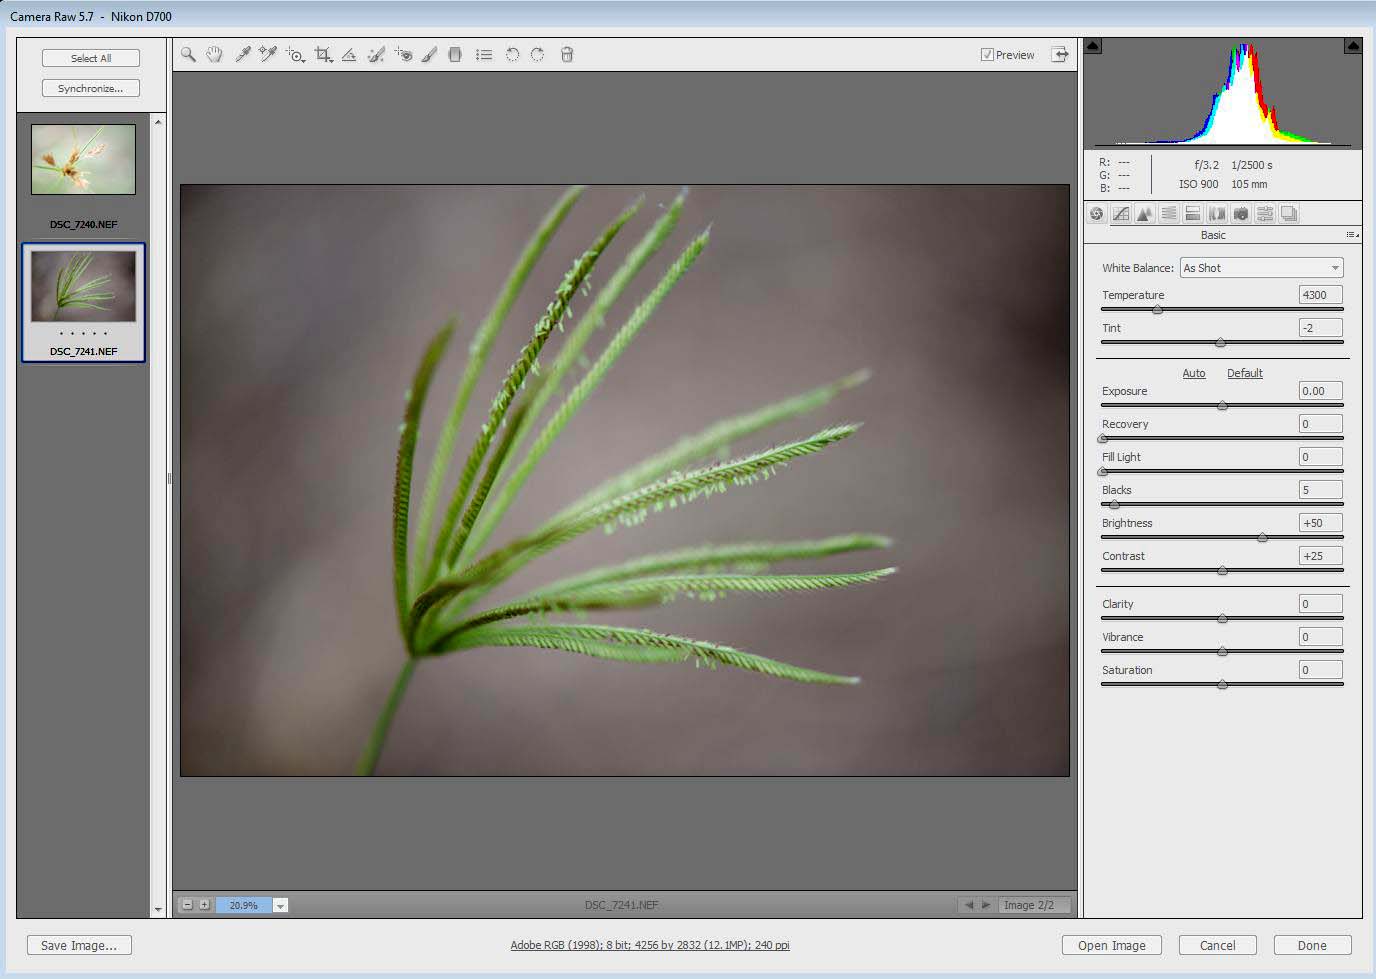
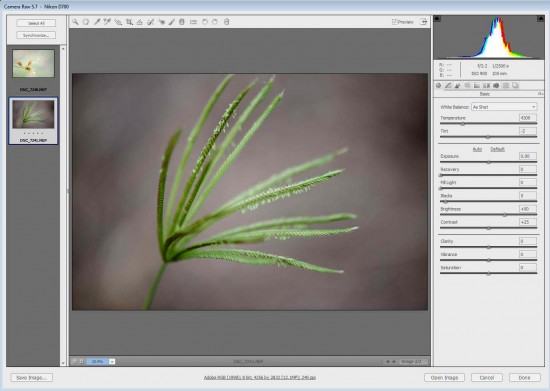
When more than one image is processed at one time in Adobe Camera Raw the thumb nail images will appear on the left side of the window as shown above.
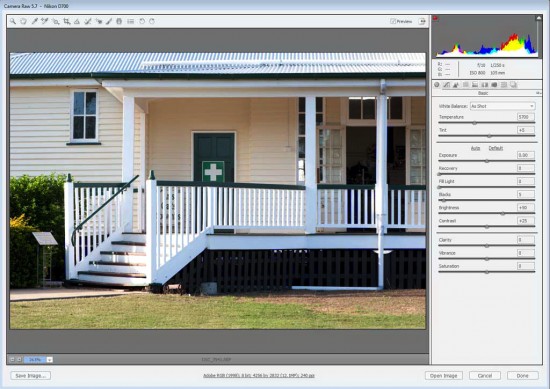
The screen shot above shows the basic Camera Raw functions. Along the top is a Tool Bar which is illlustrated below.
If you click on the above tool bar you will see the details. From left to right along the tool bar we have the following functions:
Zoom Tool – By clicking on the image we zoom in. By holding “alt” and clicking on the image we can zoom out. To return the zoom to 100%, double-click the Zoom tool.
Hand Tool – When the preview image is set at a zoom of greater than 100% the hand tool can be used to move the image within the window. The space bar can also be held down to move the image within the window. Double click on the Hand tool to fit the preview image to the window. On the bottom left hand corner of the preview window is an option to select the zoom level from a menu or from the – or + buttons.
White Balance – The white balance tool is used by placing the tool on a grey area in the image and the white balance of the image will be automatically adjusted, this can be repeated until a satisfactory white balance is acheived. This tool is used to specify that an object is white or gray. Camera Raw can then determine the color of the light in which the scene was shot, and adjust the scene lighting automatically.
Color Sampler – The color sampler tool lets you select up to 9 color samples to enable monitoring of the selected sample while changes are made to the image. This tool is a technical tool aimed to assist in color management with monitors etc.
Targeted Adjustment Tool – The Targeted Adjustment tool will enable you to make tonal and color adjustments to the image by dragging directly on to the image. Firstly click on the toolbar and choose the type of correction you want to apply. There are options for the following:
-
Hue
-
Saturation
-
Luminance
-
Grayscale Mix
Crop – The crop tool wil enable a simple cropping of the image. If required the crop can be cancelled by “esc”. There are options for various ratios as follows:
- Normal
- 1:1
- 2:3
- 3:4
- 4:5
- 5:7
- Custom setting
Straighten – If the image is not level a straight line can be drawn using the Straighten tool along an object which should be horizontal and the image will automatically be straightened.
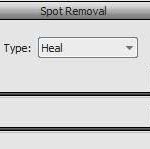
Spot Removal – When the spot Removal Brush is selected an option in the sidebar of the window will come up to enable a choice of Heal or Clone, choose one.
Red Eye Removal – Choose the Red Eye Removal tool from the toolbar then drag a rectangle around the eye. It is generally best to create a rectangle that is slightly bigger than the iris of the eye.
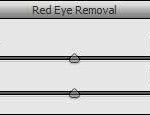
When you release the mouse button, the selection will reduce in size to the size of the red area. Modify the Pupil and Darken sliders to fine-tune the correction. This process is to be repeated for all the eyes in the image.
This article is continued in seven parts as follows.
White Balance, Targeted Adjustment, Crop, Straighten, Spot and Red Eye Removal
Adjustment Brush, Graduated Filter, Preferences The Histogram, Basic Adjustments
Curves, Sharpening, Noise Reduction Grayscale, Black And White, Split Toning
Lens Corrections, Camera Calibration Examples Of Usage

